How Much Permanent Light Track Do You Need For Rooflines
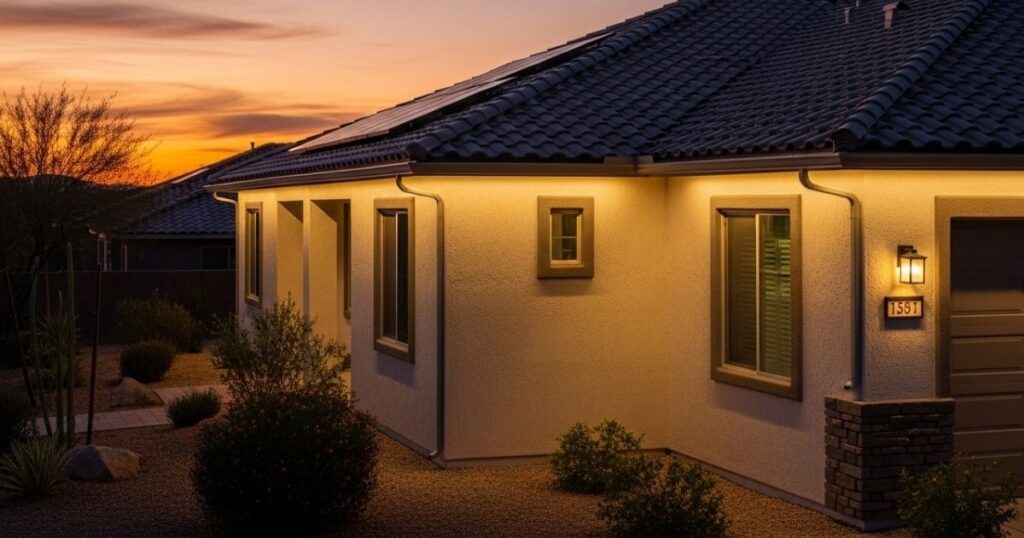
Permanent Light Track only looks easy to order from a distance. Once you measure a real house, the simple front run turns into peaks, porch wraps, garage returns, and side sections that all need a place in the total. A clean install starts with the full roofline, the right product page, and enough spare material to handle cuts without wasting money.
A short order can stop the job halfway through. An oversized order can leave unused pieces in the garage. The target is a number that reflects the house, the light kit, and the way the sections will sit once the install starts.
Start With The Full Roofline
The first measurement should cover every run you want lit, not only the obvious front edge. Homeowners often focus on the section they see from the driveway and forget the roofline that turns the corner or wraps around a porch.
Here are the first areas to measure before you place an order.
Measure Every Straight Run
Work through the house one line at a time. Start on one side and move across the elevation in order. That keeps you from missing a section when the sketch gets crowded.
Count Peaks And Returns
Peaks deserve their own measurements. Two angled lines can use more material than one quick estimate suggests. The same goes for returns above a porch or garage where the track changes direction.
Small Changes Add Up
Those smaller sections rarely look dramatic on paper. Once a few of them stack together, they can change the order total and the way your cuts need to work.
Do Not Skip Lower Sections
Lower rooflines over porches, bay windows, and entry features can make the finished look feel complete. Many people leave those out, then decide to add them after the main install starts.
Match The Product To Your Lights
Track length is only half the job. The product still needs to suit the light model on your house. Permanent Light Track carries separate pages for Govee, ASAHOM, and Eufy, and that is where many buyers save themselves from fit problems later.
These are the product checks that deserve a slow look.
Use The Correct Product Page
If you run Govee lights, use Govee Track. If your setup uses ASAHOM, choose ASAHOM Track. If you have Eufy E22 lights, order from Eufy Track.
Read The Coverage Notes
Kit labels can look straightforward, though the real assembled coverage may land a little short of the named kit length once you add up the individual sections. Product notes matter here. They tell you what the box gives you in real footage, not only what the label says.
| Roofline Area | What To Measure | What People Miss |
| Front Eaves | Full span end to end | Small return near the garage |
| Peaks | Each angled side | Treating the peak as one line |
| Porch Roof | Front run and side wraps | Leaving it out at first |
| Garage | Main span and drops | Corners near trim changes |
| Side Runs | Visible sections from the street | Dismissing them as minor |
Add A Sensible Buffer
No house uses full sections from start to finish. You will trim pieces, work around corners, and make at least one small change once the track is in your hands. That is why a little spare material belongs in the plan.
These are the situations where extra track earns its keep.
Add Spare For Cuts
Every cut takes material out of play. A single peak, a porch wrap, or a late change in break point can use more track than expected once the install begins.
A small buffer helps with common issues such as these.
- A bad cut on a visible front run
- A corner that looks cleaner with a fresh piece
- A porch return added after the first sketch
- A section you decide to redo for a straighter line
Keep The Buffer Under Control
Too much spare stock can turn into clutter. Too little can halt the install over one missed section. A balanced approach usually works best.
Simple homes with long straight runs need less extra. Rooflines with more corners, peaks, and layered sections need a little more breathing room.
Sketch The Layout Before Checkout
Measurement gives you the total. A layout sketch shows how the sections will actually sit on the house. That second step often reveals a cleaner way to place joins and reduce waste on the most visible runs.
These are the layout choices that shape the final order.
Put Full Sections On Main Runs
Long front spans should get the cleanest treatment. Full sections on those runs usually look better from the street and leave the cut pieces for less visible areas.
Pick Your Start Point
Every install starts somewhere, and that start point affects the rest of the line. It can shape cable direction, access to the controller, and where a cut piece ends up.
If the power point sits near the garage, start your sketch there and see how the rest of the roofline falls into place.
Mark Surface Changes
A run may look continuous from the yard, though the mounting surface can shift from soffit to fascia or trim board. Those changes matter when you decide where a section should end.
Mark them on the sketch before you buy. That gives you a cleaner plan for joins and cuts.
Common Ordering Mistakes
Most errors show up during rushed planning. The house looks simple from the driveway, then the missing details start to appear after the order lands.
Here are the mistakes that cost the most time.
The Misses To Avoid
- Measuring the front and ignoring the side return
- Forgetting porch wraps and lower rooflines
- Ordering to the box label with no spare
- Choosing the wrong product page
- Skipping the layout sketch
Make One Final Check
Read the measurements back to yourself. Compare them with the sketch. Confirm the light model and the product page. Then look at the total one more time before you place the order.
Final Thoughts
The right order is rarely a guess. Measure the whole roofline, match the track to the light model, add a sensible buffer, and sketch the layout before checkout.
Do that, and the install moves faster, the cuts make sense, and the finished line looks like it belongs on the house.